How to program your remote to a garage door opener
Preparing
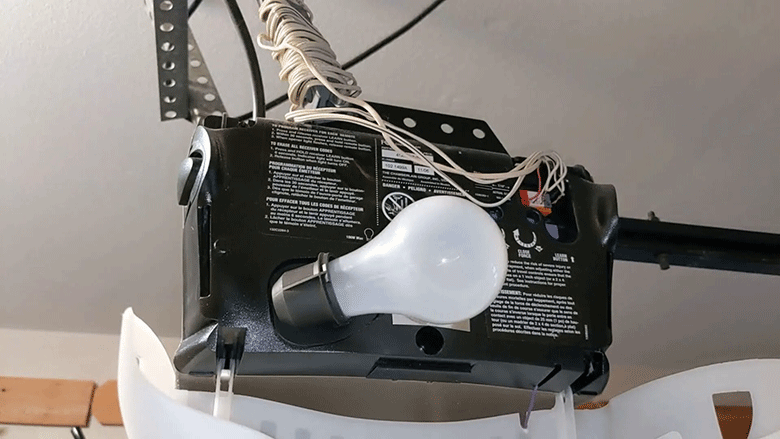
Step 1 - Locate the LEARN button or control panel
You can use either the opener's LEARN button or the wall control panel to enter programming mode on your garage door opener:
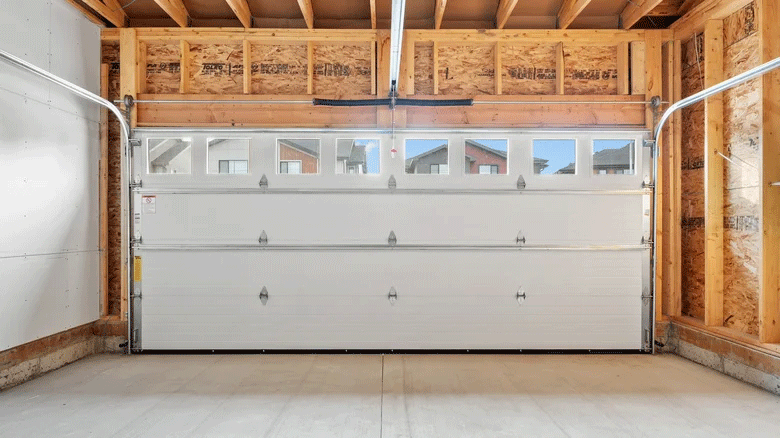
This method applies to most garage openers, but you will likely need a secure ladder to reach the opener unit under the ceiling.
This method requires you to have one of the four specific wall control styles shown below.
Not sure which method to choose from?
If you are not sure which method to use, we recommend trying the opener's LEARN button, as it is the most widely applicable method.
Step 2 - Prepare the remote for programming
In this step, you will activate your remote to get it ready for programming.
Step 3 - Enter programming mode on the garage door opener
Enter the programming mode on your garage door opener using the method you selected in Step 1.
Step 4 - Program remote to garage door opener
IMPORTANT: You must complete this step within 30 seconds of activating the opener's programming mode.
I am having a problem
-
Timing: If the remote's LED turns off before you begin this step, you likely took too long in Step 3. Please restart from Step 2.
-
Focus on the opener: Release the remote button IMMEDIATELY after see a signal. If you wait more than 2 seconds, you will lose the code. In this case, please restart from Step 2.
-
Distance: Sometimes, placing the remote too close or too far to the opener unit won't work. If you have trouble, try again while keeping the remote 3-5 feet away from the opener during programming.
Step 5 - Test the remote
Test the remote control by pressing the button you just programmed. The door should move.
Congratulations! You have successfully programmed your remote control.
Follow the same steps to program any other button you wish to use.
Having problems?
-
Repeat the programming steps 2-4 carefully.
-
Refer to our Step-by-Step Guide for more help.